
How to Tell a Bad Plastering Job? A Detailed Guide

Published by Adeel Virk
Adeel is a founder & project manager at Virk Construction Management, delivering ethical, high-quality residential and commercial projects in NSW and Canberra.
Look, you've just had your walls plastered, and something feels off. Maybe it's the way the light catches those weird ripples, or maybe you're just getting that gut feeling that you've been sold a lemon. Knowing how to spot dodgy plastering before you hand over the final payment can save you literal thousands. And honestly? It's not as complicated as plasterers might want you to think. Let me show you exactly what to look for.
Surface Irregularities and What They Actually Mean
1. The Raking Light Test (Your Secret Weapon)
Here's what professional building inspectors do, and what you should do too. Wait until evening. Grab a bright torch or work light. Hold it parallel to the wall surface, about 30 centimetres away. Now move it slowly up and down.
See those shadows? That's your wall telling you everything.
A good plaster job will show minimal shadowing. Maybe a tiny bit of texture, but nothing dramatic. If you're seeing waves, bumps, or what looks like a topographic map, that's a problem. The plasterer either didn't skim properly, rushed the job, or frankly doesn't know what they're doing.
Read More: Plastering Mistakes You Need to Avoid
2. Trowel Marks Shouldn't Be Visible
When a plasterer finishes a section, they use a trowel to smooth everything out. If you can see the actual trowel pattern on your finished wall, they stopped too early. Professional plasterers go over sections multiple times, gradually reducing pressure, until those marks disappear completely.
In Canberra's climate, this matters even more. Those ridges and marks? They collect dust differently, show through paint, and create visual inconsistencies that'll bug you for years.
3. The Hand Test for Texture Consistency
Run your hand across different sections of the same wall. It should feel uniform. Not just similar. Actually uniform. If one section feels smooth as glass and another feels like fine sandpaper, the plasterer mixed different batches inconsistently or applied varying pressure during finishing.
What you're checking for:
Smooth, consistent finish across the entire surface
No sudden changes in texture between sections
No rough patches or grainy areas
Consistent sheen when viewed at angles
Cracking Patterns (And What They're Really Telling You)
Not all cracks mean the same thing. Some are fixable. Some mean you need to get the plasterer back immediately. Here's how to read them.
Surface Crazing (The Spiderweb Effect)
Those tiny hairline cracks spreading out like a spiderweb? That's crazy. Happens when the plaster dries too fast. In Canberra, this is super common during summer when plasterers don't properly dampen the substrate first or when they've got fans blasting to "speed things up."
The technical bit: plaster needs to cure, not dry. There's a difference. Curing is a chemical process that needs moisture. When it dries too fast, the chemical reaction is interrupted, and you end up with weak plaster that cracks.
If you're seeing crazing within the first few weeks, the job was rushed. Period.
Map Cracking (The Mix Was Wrong)
Bigger cracks that divide your wall into irregular sections like a map? The plaster mix was off. Either too much water, the wrong sand ratio, or they mixed incompatible materials. This isn't a technique issue. It's a fundamental materials knowledge issue.
The ratios that matter:
Standard internal plaster mix is typically 3 parts sand to 1 part cement (for base coats).
Finish coats use finer ratios, often 4:1 or even 5:1, depending on the specific product.
Water content should be just enough for workability, not for making the application easier.
Joint Line Cracks (They Didn't Tape Properly)
See cracks running along straight lines where plasterboard sheets meet? The plasterer either skipped the mesh tape entirely or didn't embed it properly. This is basic stuff. Like, first-year apprentice basic.
Proper technique requires paper tape or fibreglass mesh bedded into a layer of jointing compound, then additional coats over the top. If they've just plastered straight over the joints, you'll get cracks. Guaranteed.
Corner Cracks and Stress Points
Cracks shooting out from internal corners or around door frames mean the plaster couldn't handle normal building movement. Buildings flex slightly. It's normal. Good plastering accounts for this with proper reinforcement and gradual buildup.
If you're seeing corner cracks within the first six months, the plasterer either applied the coat too thick in one go or didn't use corner beads on external corners where they're needed.
Must Read: Different Grades of Cement
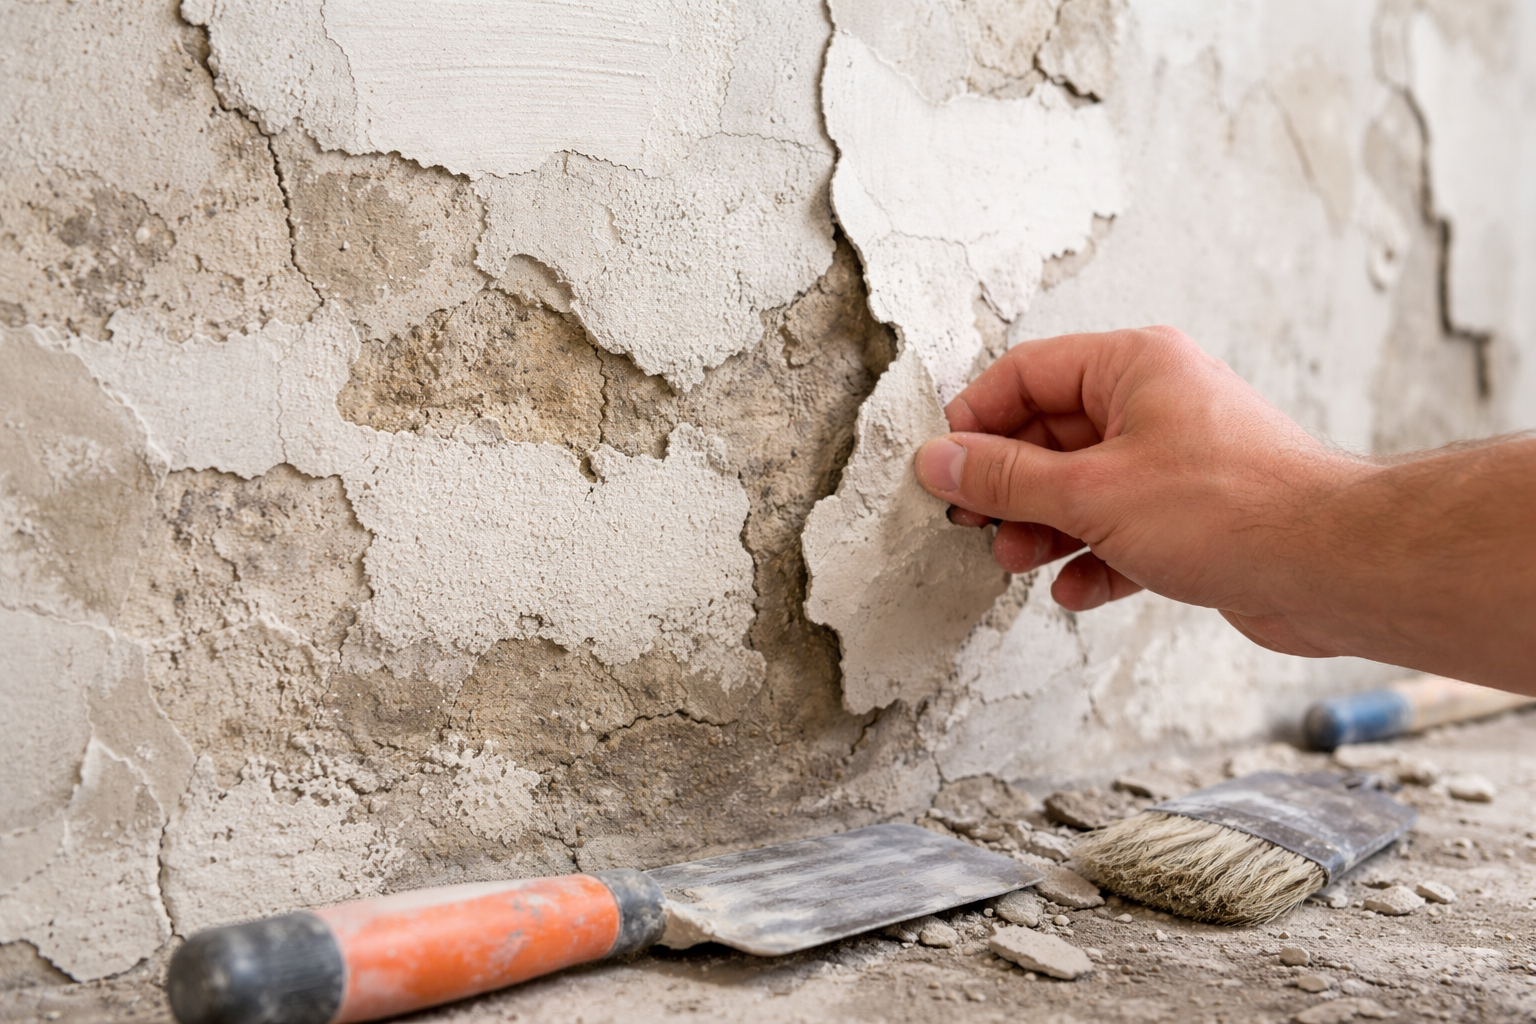
How to Test for Delamination Properly
Walk around and tap the walls with your knuckles. Not hard, just firm enough to hear the sound. You're listening for differences in tone.
Solid, well-adhered plaster sounds... well, solid. A bit dull, uniform. Delaminated plaster sounds hollow, almost drum-like. That hollow sound means there's an air gap between the plaster and the substrate underneath.
Priority areas to test:
Above all, window and door openings (stress concentrates here)
Around electrical outlets and switches
Internal corners where two walls meet
Along the ceiling line
Any area that looks even slightly different in colour or texture
Why Delamination Happens
Usually,y it's substrate prep. The plasterer didn't clean the surface properly before applying plaster. Or they plastered over dusty brick, or didn't use a bonding agent where one was needed, or applied plaster to a surface that was too dry (or too wet).
In plastering for residential & commercial construction around Canberra, you'll often have mixed substrates. Brick veneer, meeting plasterboard, meeting old fibro. Each material needs different prep. A plasterer who uses the same approach for everything will create delamination problems.
Once plaster delaminates, it doesn't magically reattach. It'll only get worse until chunks start falling off.
Substrate Preparation Red Flags
Good plastering starts way before plaster touches the wall. Here's what poor prep looks like.
Visible Contamination Under the Surface
Look closely. Can you see little bumps or raised spots? Get up close. Sometimes you can actually see dust, debris, or paint chips trapped under the plaster. This happens when plasterers don't clean properly before starting.
Professional approach: surfaces should be vacuumed, wiped down, and in some cases sealed before plastering begins. Skipping this creates weak points and visual defects.
Inconsistent Coverage and Show-Through
If you can see the substrate showing through in patches, the plaster wasn't applied thick enough in those areas. This happens when plasterers try to stretch materials to save money or when they're working too fast.
Standard coverage for a two-coat system should be around 10 to 13 millimetres total. Finish coats specifically should be 2 to 3 millimetres. Less than that and you get show-through. More than that, you get cracking from excessive thickness.
Missing Reinforcement at Critical Points
Check where different materials meet. Brick to plasterboard. Old wall to new wall. There should be evidence of reinforcement mesh at these junctions. If the plasterer just plastered straight over these transitions, you'll get cracks along those lines within months.
Thickness Problems (And How to Spot Them)
1. The Light Switch Test
Look at where the plaster meets your power points and light switches. The plaster should sit relatively flush with the fixture. If the switch plate is recessed way into the wall in some spots but sticking out in others, the plaster thickness varies wildly.
This matters because thick applications crack as they cure, and thin applications fail prematurely. Consistency is everything.
2. Build-Up at Corners and Edges
Run your finger down the internal corners. Does it feel smooth and crisp, or does it feel like there's a buildup of extra plaster? Good plasterers feather out corners so they're sharp and clean. Bad plasterers let plaster accumulate in corners because it's faster than doing it properly.
3. Door Frame Reveals
Check the reveals around door frames. They should be uniform in depth all the way around. If one side is deeper than the other, or if the depth changes as you go up the frame, the plasterer applied inconsistent thickness.
Professional standards:
Variation across a wall should be less than 2 millimetres
Base coat thickness typically 8 to 10 millimetres
The finish coat adds 2 to 3 millimetres
The total system rarely exceeds 15 millimetres on internal walls
Timing and Curing Issues (The Invisible Problems)
This is where cowboys really show themselves.
Multi-Coat Application Timeline
Proper plaster application needs time between coats. Base coat goes on first. That needs to be cured for at least 24 hours, sometimes longer depending on conditions. Then the finish coat.
If your plasterer did base and finish coat on the same day, that's wrong. The base needs to firm up before the finish coat goes on. Otherwise, the finish coat draws moisture out of the base too quickly, and you get poor adhesion and cracking.
Environmental Conditions Matter
Canberra gets cold winters and hot summers. Plastering in either extreme needs special consideration.
Winter issues:
Plaster needs a minimum of 5°C to cure properly
Below that, the chemical reaction slows or stops
Frost can destroy fresh plaster completely
Summer issues:
Rapid drying interrupts proper curing
Substrate needs dampening before application
May need to mist walls lightly during curing
If your plasterer worked through temperature extremes without adjusting technique, you'll see problems.
The Paint Timeline
Fresh plaster needs to cure before painting. Depending on thickness and conditions, that's typically two to four weeks. If the plasterer or painter went straight to painting within days, moisture gets trapped in the wall system.
Signs this happened: bubbling paint within weeks, damp patches that won't dry, and a persistent musty smell.
Detail Work (Where Skill Really Shows)
1. Internal Corner Crispness
Get down and look along internal corners from an angle. They should be straight, sharp, and consistent. If they're wavy, rounded, or vary in angle, the plasterer doesn't have the skill for precision work.
Professional technique uses a corner trowel or angle tool to create perfect internal corners. Doing it freehand rarely produces acceptable results.
2. External Corner Protection
External corners (corners that stick out) should have metal corner beads installed underneath the plaster. You shouldn't be able to see the bead, but you should be able to feel that the corner is perfectly straight and protected.
Tap the corner gently. It should feel solid, not flexible. If the corner flexes or feels soft, there's no bead, or it wasn't installed properly.
3. Ceiling to Wall Junctions
This is honestly one of the hardest parts to get right. The junction where walls meet ceilings should be clean and deliberate. Not perfect necessarily, but intentional.
Two acceptable approaches:
Sharp corner with minimal cornice (requires excellent technique)
Proper cornice installation that hides the junction
What's not acceptable: wavy, inconsistent lines that look amateur.
4. Window and Door Reveals
Reveals should be square, plumb, and uniform in depth. Check with a small spirit level if you've got one. The reveal should be perfectly vertical and the same depth top to bottom. If reveals are wonky, everything you install later (blinds, curtains, trim) will look wrong, and you'll never be able to fix it without replastering.
Ready to Ensure Quality Plastering for Your Project?
If you're planning work in Canberra and want to avoid these headaches entirely, Virk Construction Management knows plastering for residential & commercial construction inside out. We understand ACT's specific climate challenges and work exclusively with trades who meet proper standards. Get in touch for a consultation, and we'll make sure your project gets done right the first time.
Conclusion
Spotting dodgy plastering isn't about being picky. It's about protecting your investment and avoiding expensive fixes later. Use the raking light test, check for hollow sounds, examine the details, and don't accept work that doesn't pass these basic checks. Good plastering looks effortless because someone actually knew what they were doing. Trust your instincts, inspect thoroughly before final payment, and remember that quality work lasts decades while rushed jobs cost you twice.